Expert Tips on How to Apply Individual False Eyelashes

Here’s What Makeup Artists Need to Know About Individual False Eyelashes\
Individual false lashes can be your best friend—but like all best friends, you fight, you makeup, and you learn each others’ secrets. Here’s what you should know about individual false lashes that will help you out when you’re faced with a client in the makeup chair and time is counting down.
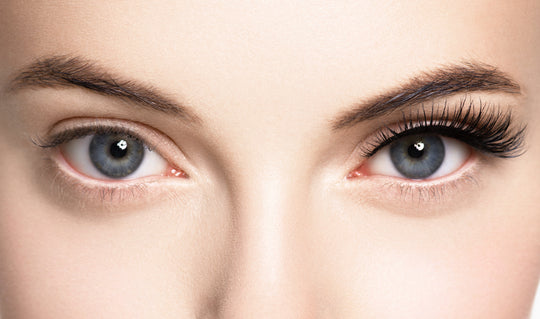
The pros and cons to individual flares vs. strip falsies
Because you can apply them individually, you can create a more tailored look for your clients.
Another plus point: they feel lightweight to the wearer because they don’t have the band that regular falsies have. So if you have that one client who dislikes feeling like they’re wearing a lot of makeup, then individual lashes are the way to go because they score high on wearability. Cons: They take longer to apply. That’s really the only downside to using them.
Narrow down your choice
Individual flares can come with a knotted base or a knot free base. Regarding the knotted type—the knot can sometimes be visible along the lash line, creating a bumpy look if not camouflaged correctly. This is not an issue if your makeup plan includes a dark eyeliner along the lash line. But if you want to go light on the eyeliner, then choose individual flare knot free lashes.
Overall, knotted types tend to contain more lash per knot. There are also volume styles that again have even more lashes per flare. So if you do plan for a dark eyeliner look for your client, then knotted types are the way to go when short on time, especially the volume variety. Individual singles are just the one single lash as opposed to a flare, and they can be fantastic fillers—for when you spy a gap in your work—or to place at the outer corners of the lashes for a bit of a statement.
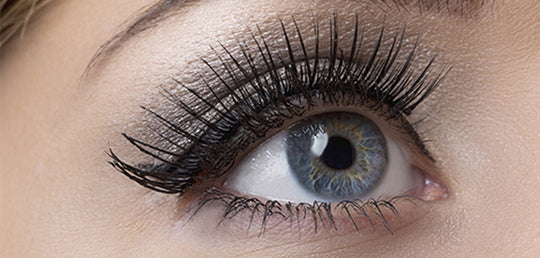
How to nail placement
Begin by placing a small amount of adhesive onto the back of your hand or mixing plateand wait for the glue to become tacky before beginning any work. Using your eyelash applicator, dip the base end into the glue and then lightly place into the lash line following the angle of the natural lashes. The idea is that the glue should adhere to the other lashes, not the skin. If you get the placement a little off, don’t panic. The glue hasn’t set enough for it to be a problem to quickly remove and reposition.
Going from the outer corner to the inner corner is how most makeup professionals work. But some also start from above the pupil and then flare the lashes out. If you plan on a multi-length lash look, start with placing the longer length lashes first then alternate lengths.
Individual false lashes allow your creativity to shine. So sparkle and have fun!
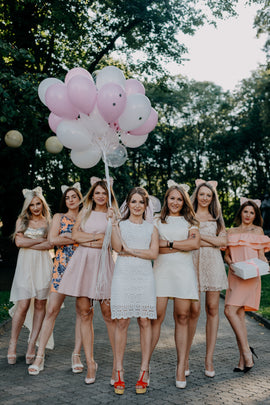
Predominantly our medium impact selection are best for bridal - link to medium impact
See our best selling lashes
Link to eye shape - styles that are fuller through the centre of the eye are best for deep set - think TRES CHIC, PARISIAN ROMANCE
See aftercare instructions on how to advise
Best new styles, products you’ll love, glamour to sigh over—rounding up the best of the week and delivering it straight to your inbox every Saturday.